Export a Site


Note: An export can take time depending on the selected components and the size of the site.
Prerequisites
- A host / super user account. Hosts have full permissions to all sites in the DNN instance.
Steps
-
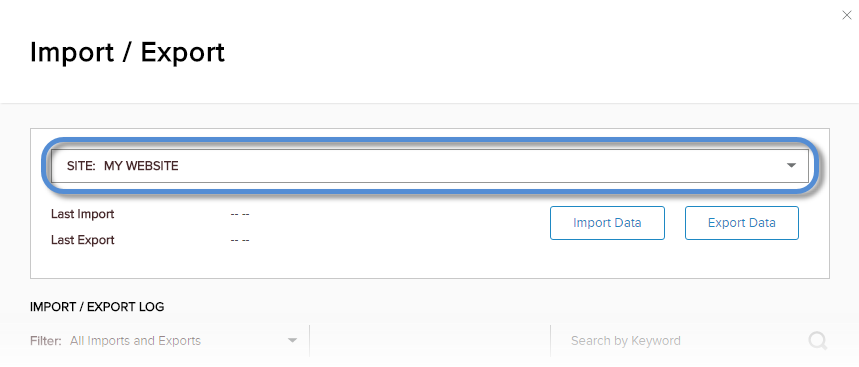
Go to .

➊
➋
-
Choose a site to export from.
-
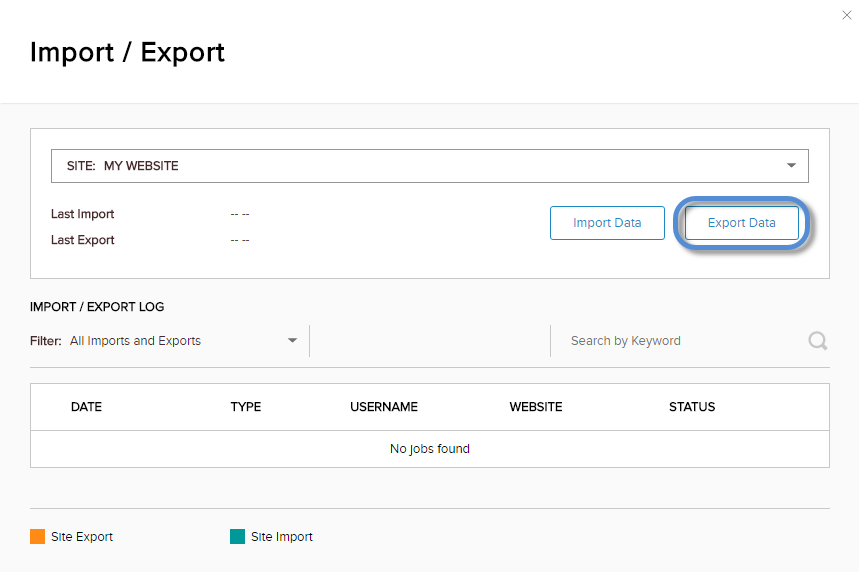
Click/Tap the Export Data button.
-
Configure the export settings.

Field Description Name A user-friendly name to refer to the export. Include in Export The components to export. Pages in Export The pages to export. Include Deletions If enabled (On), Recycle Bin items are exported. Note: These items are not imported into a Production installation.Run Now If enabled (On), the process starts immediately. Export Mode - Differential. Exports only the differences between the last export and the current state.
- Full. Exports the selected components and pages fully. Note: The first export is always a full export.