Create a Navigation Link to an Asset (File)


Steps
-
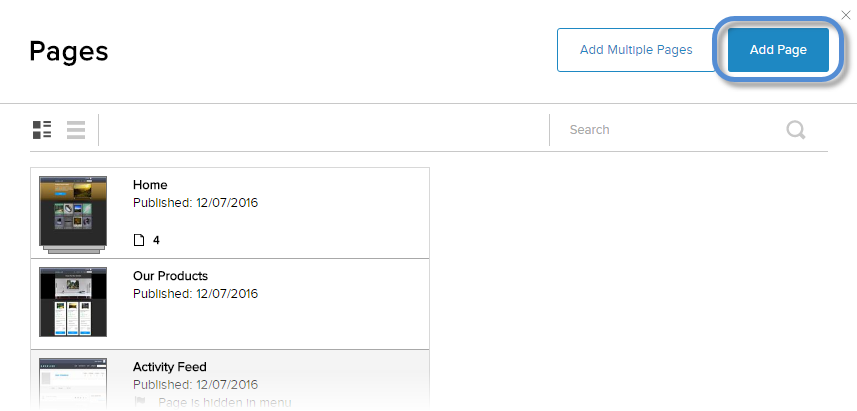
Go to .

➊
➋
-
Click/Tap Add Page.
-
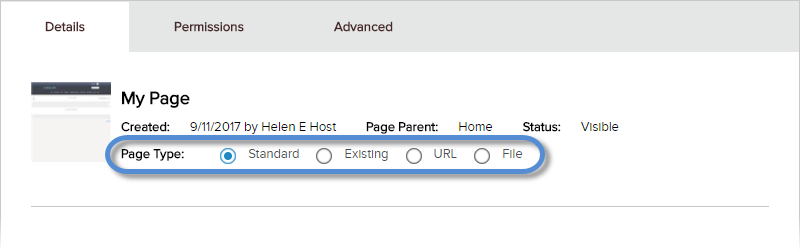
In the Details tab, configure the basic settings of the page.
-
Set Page Type to File.
-
Configure the link to a file.
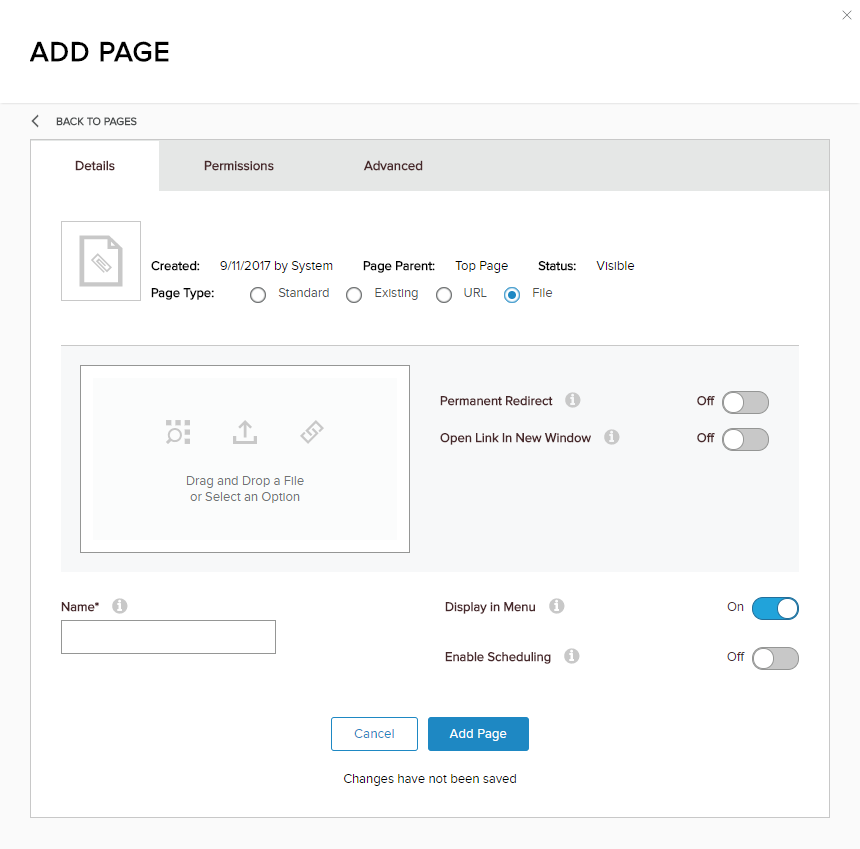
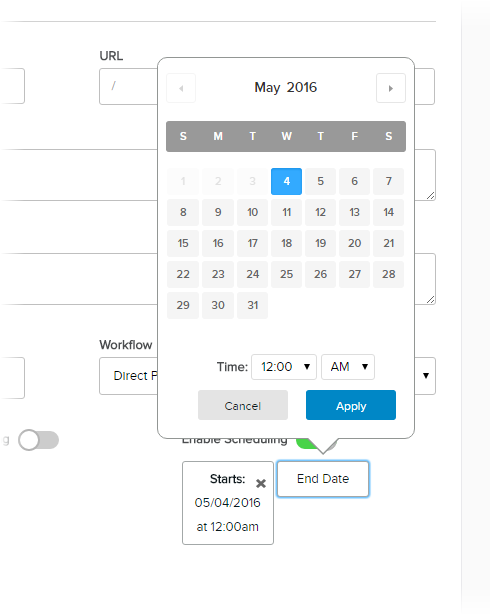
Field Description Permanent Redirect If enabled (On), the HTTP status code 301 is returned with the page to indicate that the redirect is permanent. Open Link In New Window If enabled (On), the page is displayed in a new browser window or tab. [Page] Name Required. Used in the navigation. Display in Menu If enabled, the page is included in the main navigation menu. If the page is not included in the navigation menu, you can still link to it using its URL. Enable Scheduling If enabled, the Start Date and End Date buttons appear below the switch. Click/Tap on either button to set the time span when the page is publicly visible on the site.
- The page is published after the specified start date. If Start Date is not set, the page is published immediately.
- The page is hidden after the specified end date. If End Date is not set, the page is visible indefinitely.
-
Set Page Type to File.
-
(Optional) In the Permissions tab, configure which roles can do which actions on this page.
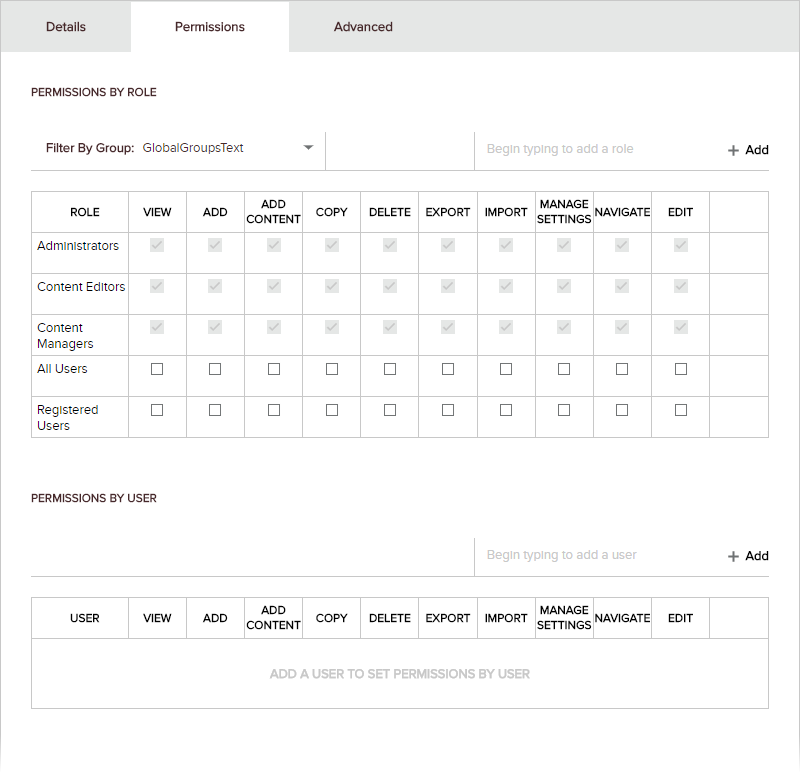
- Assign permissions for each role. Under Permissions by Role,
- To filter the displayed roles, select the role group from the Filter By Group dropdown.
- To add another role to the list, choose the additional role from the Select Role dropdown, and click/tap Add.
- Check the appropriate checkboxes to enable each role to perform actions.
- Assign permissions for a specific person. Under Permissions by User,
- To add a specific user to the list, enter part of their display name, select the correct user from the list, and click/tap Add.
- Check the appropriate checkboxes to enable each role to perform actions.
- Assign permissions for each role. Under Permissions by Role,
-
(Optional) In the Advanced tab, configure additional settings.
-
In the Modules subtab, edit or delete the modules on the page, as needed.
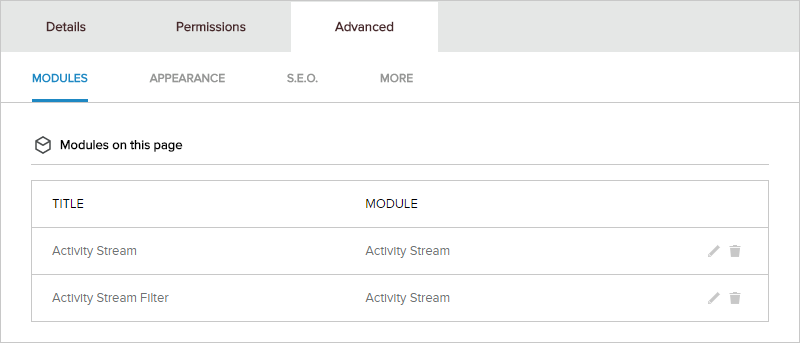
Note: The Modules tab appears only if configuring a standard page. -
In the Appearance subtab, configure how the page is displayed.
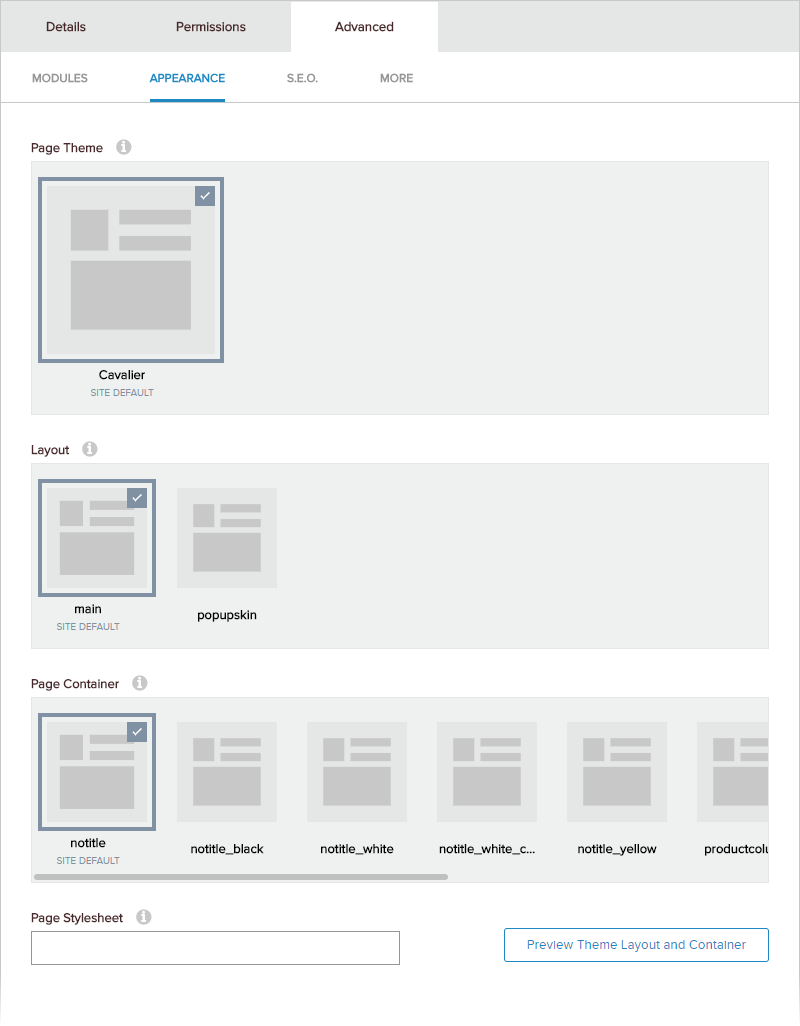
Field Description Page Theme The theme to use for the page. Layout The layout to use for the page. Page Container The container to use for all modules in the page. This setting is overridden by the module's container setting, if any. Page Stylesheet The CSS to use for this page. If blank, a default CSS is used. (Note: The default CSS used depends on other settings; it might be from the page theme, the site theme, or other CSS defaults.) Preview Theme Layout and Container If clicked/tapped, all the selected Appearance settings are applied to a page in a new browser window or tab. -
In the SEO subtab, configure SEO-related settings for the page.
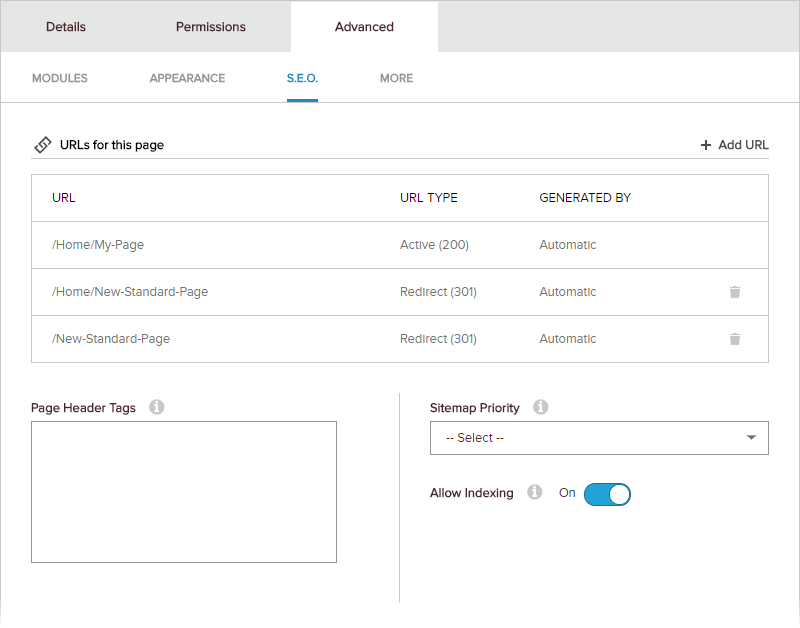
Field Description Page Header Tags HTML <meta>tags to add to the<head>of the page. Example:<meta name="keywords" content="CMS, Liquid Content, example">Sitemap Priority The priority for the page (0 to 1.0; default is 0.5). This value helps search engines to rank the page relative to other pages in the site. Allow Indexing If enabled (On), the ROBOTSmeta tag is set toINDEXto indicate that search engines should index the page; i.e.,<meta name="ROBOTS" content="INDEX" />. Otherwise, theROBOTSmeta tag is set toNOINDEX, and search engines ignore the page. -
In the More subtab, configure security and caching for the page.
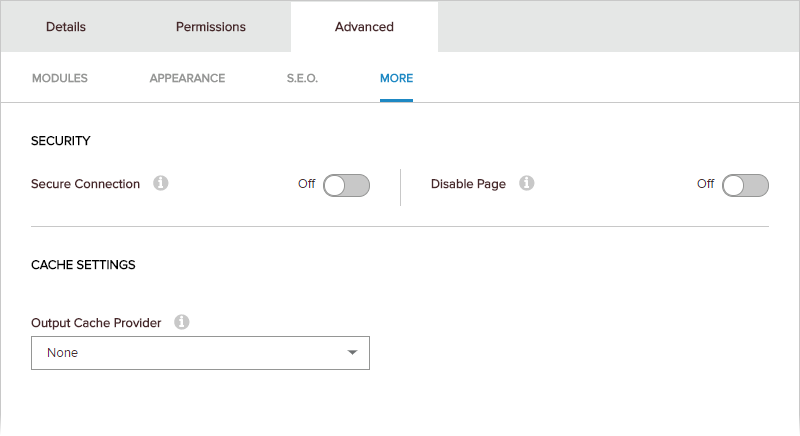
Field Description Secure Connection If enabled (On), the page is forced to use SSL. Available only if the site is SSL-enabled. Disable Page If enabled (On), the page appears in the navigation, but it cannot be clicked/tapped, thus creating a placeholder. Output Cache Provider The caching provider to use for the page. If none is specified, the site's caching provider is used.
-
In the Modules subtab, edit or delete the modules on the page, as needed.